

It's an A5 easel card. I took a piece of centura pearl card, slightly smaller than A5, and embossed it with a floral m-bossabilities folder and then inked the embossed design with tim holtz broken china distress ink. Then I cut another piece of centura pearl the same size, and embossed with "that special touch" trellis mask and cut out all the insides. It took hours but I think it was worth it. I then put small strips of super sticky tape in random places on the trellis and used my Lancashire Rose mica flakes. On the exposed parts I used tim holtz frayed burlap distress ink. I stuck the trellis onto a thin frame made from gold card. This made it easier to mount the trellis. I mounted the trellis onto the embossed card using foam pads.
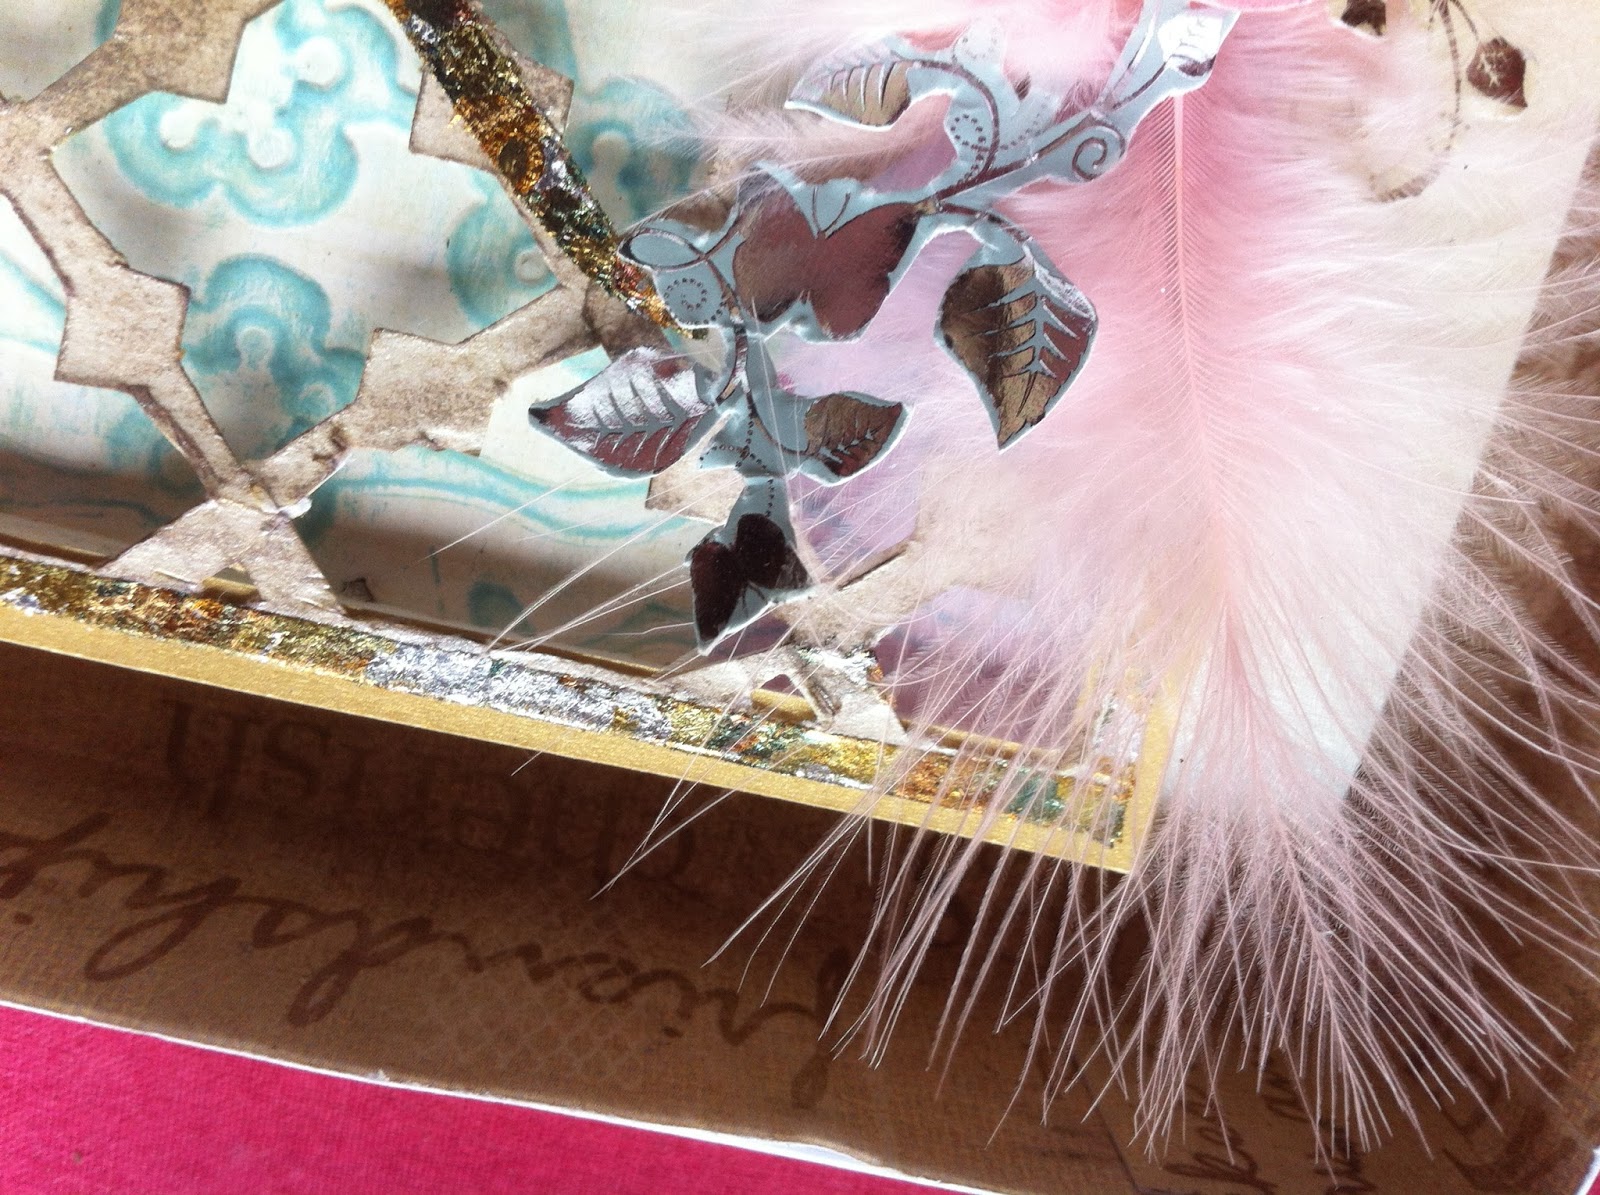
In the corner of the picture above you can see little butterflies and tendrils/vines which were cut out from beautiful luxury foiled card from hunkydory. I cut out three of these. You can also see the lining on the box which was covered in script saying "frienship, love, memories, reminisce" which I thought was so appropriate for the purpose.

The flowers in the bottom corner were made using my spellbinder ornate circles dies. The centre of the flowers is comprised of cosmic shimmer black pearl pva glue. I let it sit for about 20 minutes and then sprinkled micro beads over it and let it dry. This gives a very realistic texture to the flower centres and a fab shimmer when moved about in the light. The roses are simple and if anyone doesn't know how to make them, let me know and I'll post it up. I used my spellbinders labels dies for the text plaque. The text is a quote I found online which is credited to Marcus Tullius Cicero.


For the box lid, I used cardstock from the Hunkydory Celebrations kit. This had a lovely green ribbon printed on the box which I covered with super sticky tape and mica flaked to match the card. I punched out a circle using the second largest ornate circle die. I then cut the largest ornate circle die out of the luxury foiled butterfly card, trimmed the very outer edge and stuck it onto the box. I put acetate and another punch on the inside. The piece of card I punched out of the lid wasn't going to be let go to waste either. I made the rose for the inside of the card with it and cut two leaves out of ordinary paper. Inked them and scrunched them. I used some lovely dotty paper from a Tatty Teddy kit which I mounted onto gold card for the insert. I cut two labels using my spellbinders dies. Mounted them with matching paper and placed 3 small gems on each. I then stuck these down using pinflair glue gel and these act as the stopper for the easel.
Thanks for stopping by to look. Feel free to leave a comment. Thanks guys.
Emer
x


